 Being an old house and having been converted into flats means that there are many oddities that adds the character that we absolutely love...but can also cause some headaches with home renos because what is standard in new houses...is not in our house!
The first thing we needed to do was determine where we could put a dishwasher. We figured out that the only place we could put it and be able to open the door fully was about 4 feet from the sink. We also found out that the depth of our counters was definitely NOT standard...to accommodate the back door (exit is right across from the sink in the above photo) they had to make the counters narrower (19" rather than the typical 25" in North America). So herein lies two problems:
- We could not put in a North American made full size dishwasher (they are 24" wide and deep)
- To accommodate a 19" wide (20" deep) dishwasher, we would have to not only cut out the cupboard...but also the lathe and plaster wall behind it!
 Pilot holes to see what is behind the wall. The cupboard you see to the right (with the tupperware) is the one under the drawer in the first photo and that is the back door immediately to the left. This is avery small kitchen!
Diego had a good time using a reciprocating saw to cut out the wall and cupboard that we lovingly referred to as the "Schwarzenegger" because he had to hold it like a big gun and made a lot of noise!
 Cupboard and the wall taken out...notice no insulation on the outside wall...not even paper!
 We then closed it in with wood that we had in the garage, basement and from the cupboard we removed and plastered the cracks to seal it.
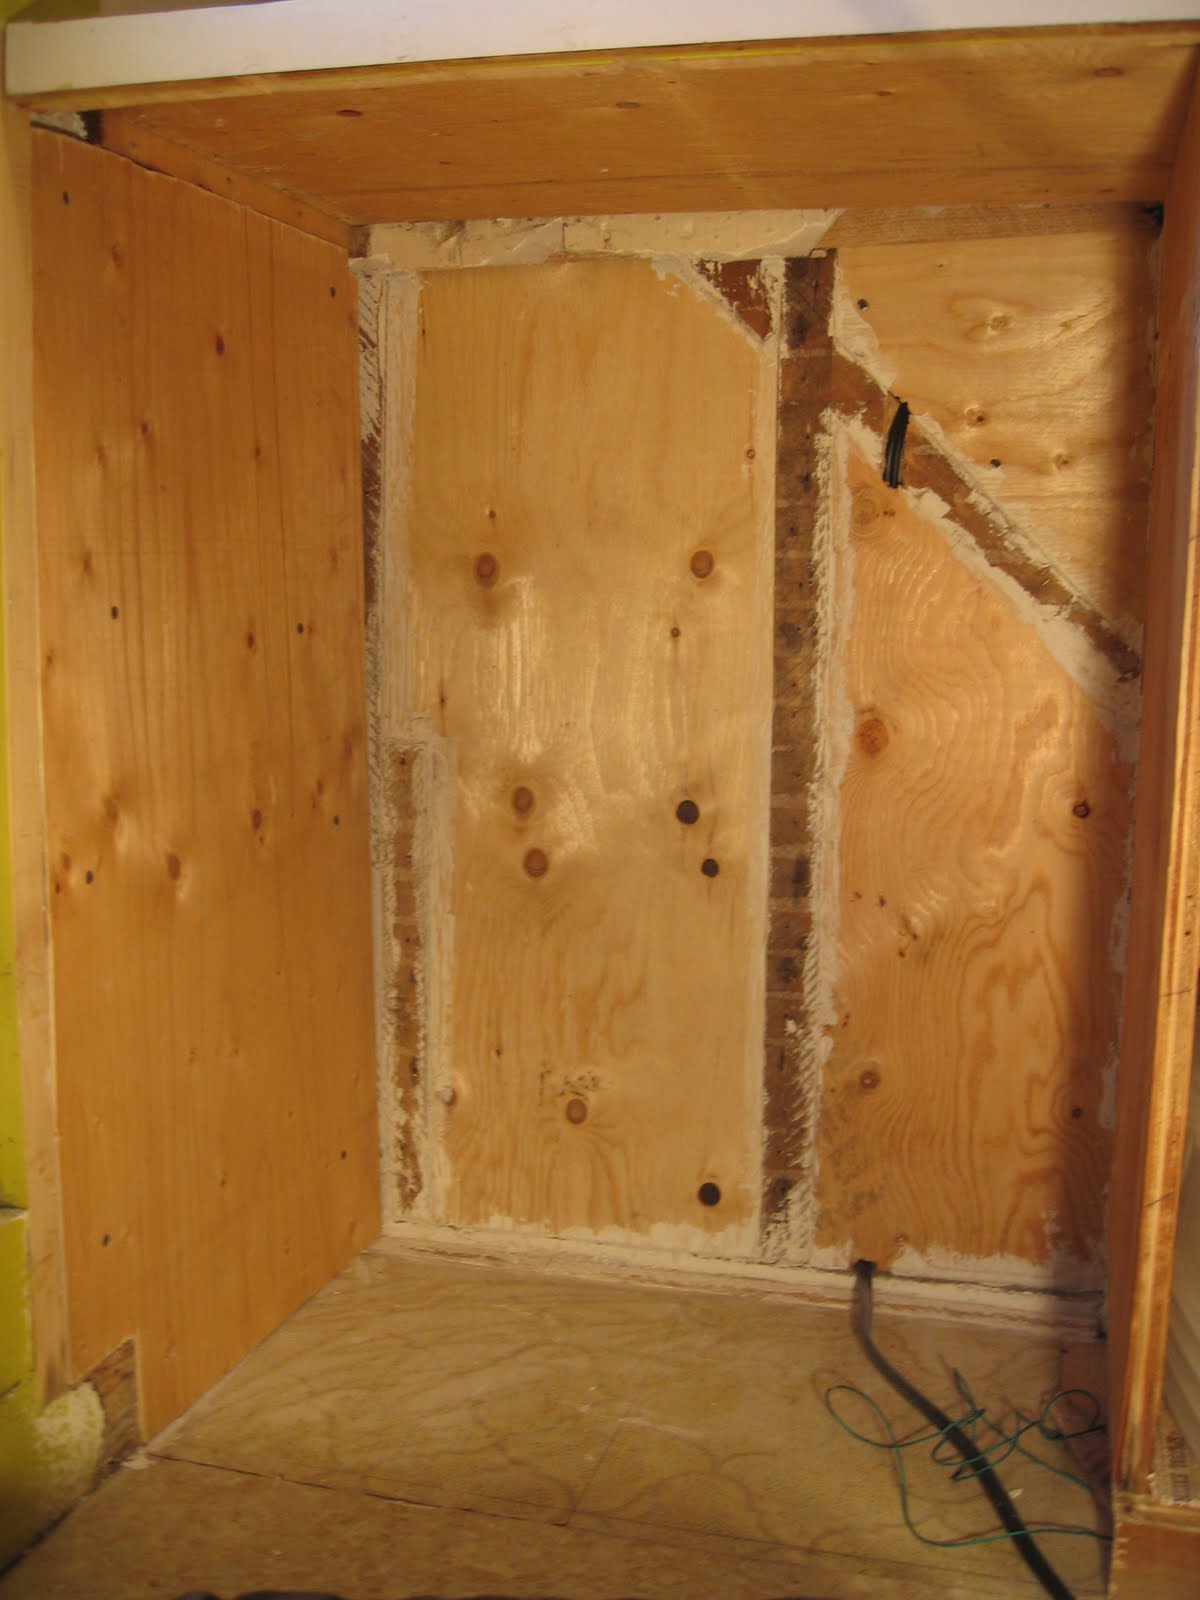
 Our first try.
 However, when we were done it was all painted and the dishwasher slid in nicely, we were glad we did it.
The eletrical and the plumbing took another whole day on their own! The plumbing under the sink was installed before dishwashers even existed, so we had to redo the whole thing!
 Cast iron and copper plumbing under the kitchen sink.
 Diego cutting the cast iron pipe with the "Schwarzenegger".
 Our beautiful new plumbing!!!
 When we flicked on the switch to see what the problem was the dishwasher came to life and we had a good laugh!!! It took 1/2 a day to re-wire it and get it right! Time spent so far...4.5 days. The next part is what took us the longest...rebuilding the cupboard in the small space beside the dishwasher. Since our kitchen is so small we had to do something to make this space useable and we of course couldn't make it simple...like shelves...no we decided to make a small larder (aka: a drawer with shelves). We also wanted to reclaim as much wood as we possible could, not just to save $$ but to save TREES!!! This of course made it more difficult because the pieces were sometime bowed but also because this old house is a little crooked!!
 This was such a technical job. So much finicky cutting and adjustments to get it "straight" in a crooked opening!
 It took 3.5 days just to get this built, stained and layer of clear coat!
 But now I have space for our cooking utensils and my teas (yes they take up 3 shelves) and we have a DISHWASHER!! This will save on water and headaches figuring out who will do the dishes!!! :)
 Even though it feels like we should have lost space, we actually gained some in the main part of the kitchen! With a little re-arranging and purging of items not used in years, we now also have a potato and onion drawer!!!
It was well worth the 8 days! Now we just need to sand and stain all the cupboards the same colour...
holy CRAP guys! THE WORK. I knew it, but I loved reading about it. And I laughed out loud that you wired the dishwasher to the lightswitch. awesome.
ReplyDeleteAlso, I am SO JEALOUS that you have a dishwasher- we're going today to the sears outlet for a gently used dishwasher for cheap. And you are so right- when most of the counters are taken up by drying clean or dirty dishes, having a dishwasher actually adds in space. And is environmentally friendlier than washing by hand :)
PS- WOW on the drawer dealy. I am so glad you guys decided to go with that- it's BEAUTIFUL.
That's fantastic! Good for you guys. Getting a dishwasher a few years ago seriously improved our quality of life! Enjoy yours!
ReplyDeleteYAY and congrats on the dishwasher. And I love those mugs hanging under the counter.
ReplyDeleteOh my gosh, I would NEVER have tackled this myself. Dh and I are not talented that way. Kudos to you on doing a great job! And congrats on having a dishwasher. :)
ReplyDelete